Sorry we've been having a lot of scheduling issues and this post was originally supposed to be published last week!
Back at it again with the novelty DIYS! I actually made this DIY a while ago and I've had so many people ask if it was real! This is such a cute project and perfect for back to school.
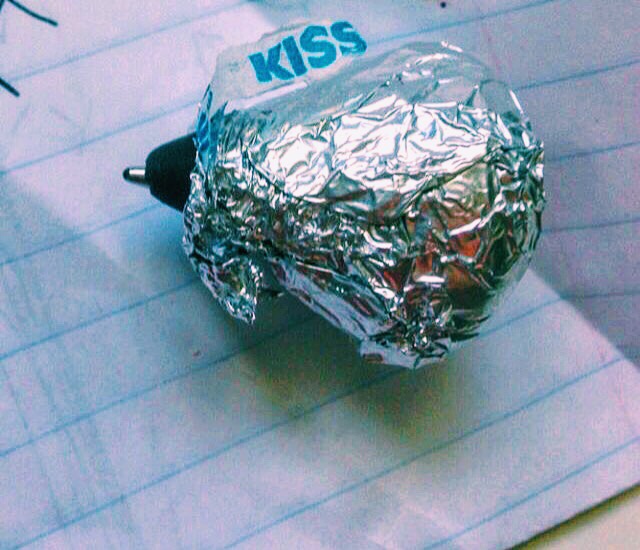
I used the same process for this DIY as I did for my DIY Kawaii pill pen. I began by using a dark brown oven bake clay (you can use air-dry) and shaped it into a shape that resembled a Hershey Kiss. Once I got my desired shape I took the inside of the pen and marked how much I needed to cut it down to fit inside my kiss. I trimmed it down and sealed the hole with glue. Once that dried I stuck it through the middle of the clay. I then removed it and baked it. If you are using air dry clay you can skip this step.
I used the same process for this DIY as I did for my DIY Kawaii pill pen. I began by using a dark brown oven bake clay (you can use air-dry) and shaped it into a shape that resembled a Hershey Kiss. Once I got my desired shape I took the inside of the pen and marked how much I needed to cut it down to fit inside my kiss. I trimmed it down and sealed the hole with glue. Once that dried I stuck it through the middle of the clay. I then removed it and baked it. If you are using air dry clay you can skip this step.
Once the kiss is baked and cooled insert the pen. This next part is optional but recommended! I cut out a square of aluminum foil and wrapped my kiss to look like the actual candy. I then took the tag out of an actual kiss an folded it in! When your ready to use the pen just simply peel back the foil and write away!


 RSS Feed
