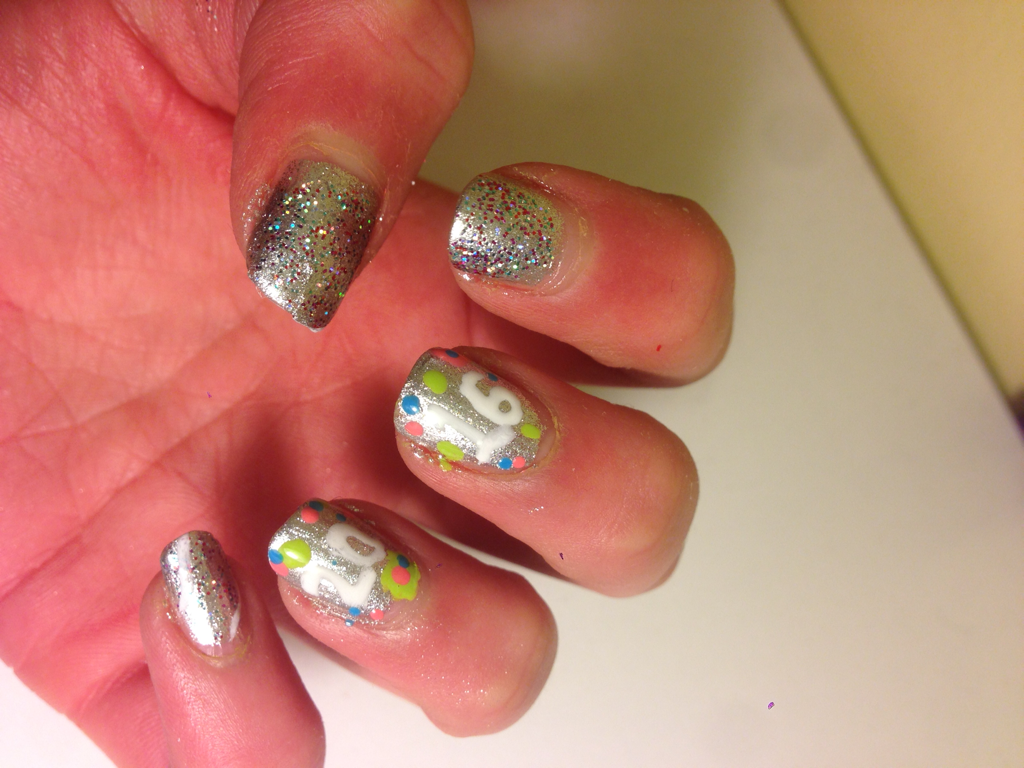
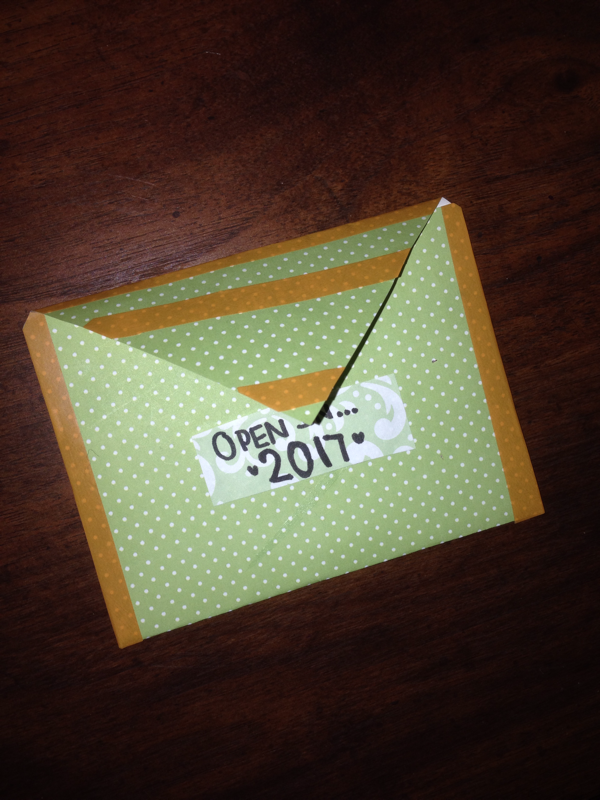
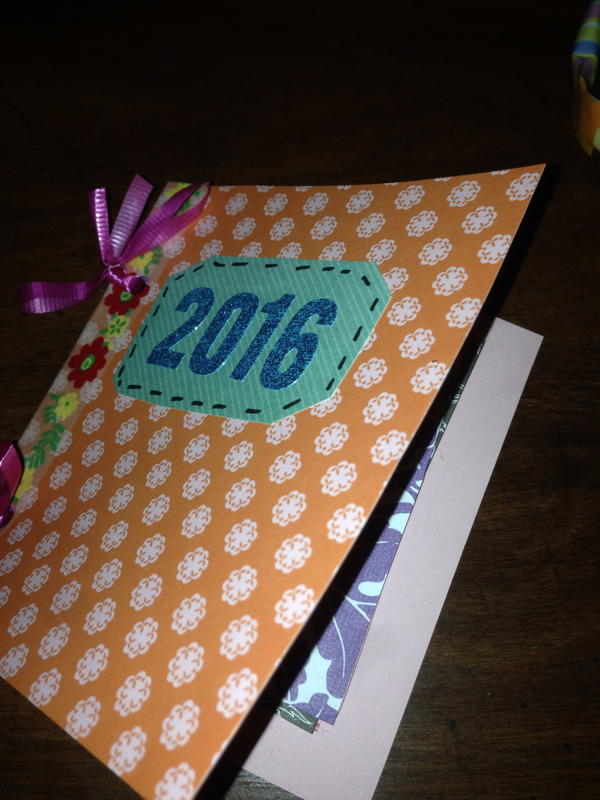
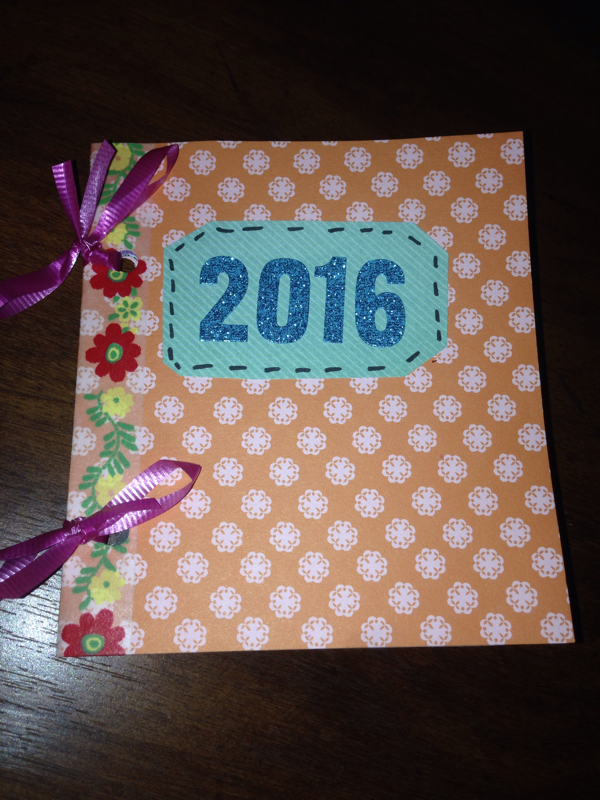
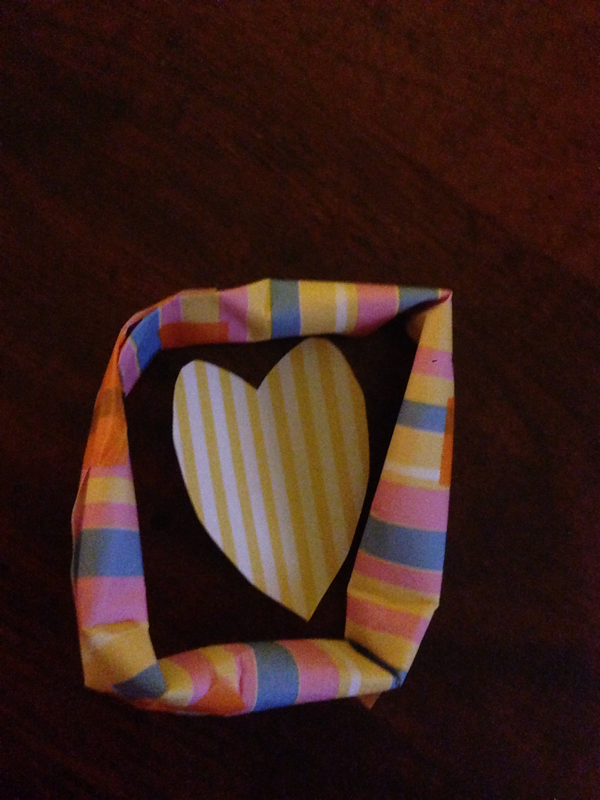
New Years DIYs | Bracelet Part Poppers, Decor and more!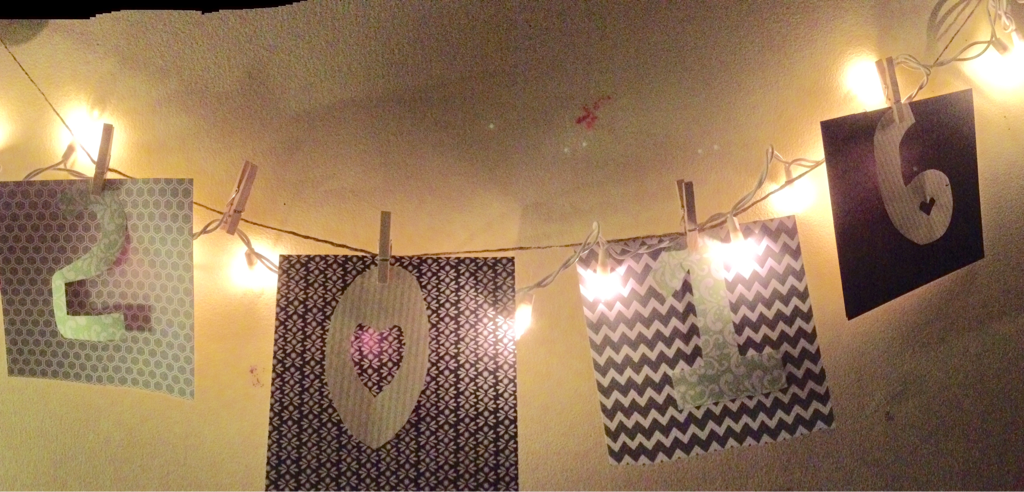 Here are a bunch of adorable and easy DIYs you can do on New Years Eve or even just in the month of January! Open Me Envelope The open me envelope is probably the easiest. You can make yours own or decorate an envelope. Write yourself or a friend a note that they can't open until New Year's Day the following year! You can include goals, wishes or just a letter! You can even do this at a party! Everyone gets an envelope and writes a note to themselves or a randomly selected person! Memory Album The memory album is another strait forward DIY that is probably my favorite. First start of by taking a rectangle of decorative paper, double the size you want it to be. Fold it in half the create the cover of your book. Decorate how you please and cut out pages for the inside. Hole punch through the pages and bind with ribbon. I made mine to glue poloraid pictures in, but if you want to use regular, drug-store photos, alter the size of the book! Bracelet Party Popper This party popper is super easy and efficient. Although iit may look like a kindergarten art project, your party guests will love them! First start off by rolling up a price of paper. If you want it as a bracelet use the long side of the paper or if you just want to pull it apart, use the short side. Roll it up and tape the sides to secure it. Pinch one end and fill the other half with confetti. You can use glitter, confetti, or even hole punches! Flatten each side and tape them together to form a circle. Pull apart or use as a bracelet and pluck it off at midnight! New Years Fortune Cookies You can use these fortune cookies as a party favor or just a fun activity! To make these cookies I traced a ribbon spool on a piece of decoritive paper and cut it out. Fold it in half to look like a taco and place in your fortune.Secure with tape. Next using your thumb push into the center of the "taco" and push the two sides together and secure with tape! 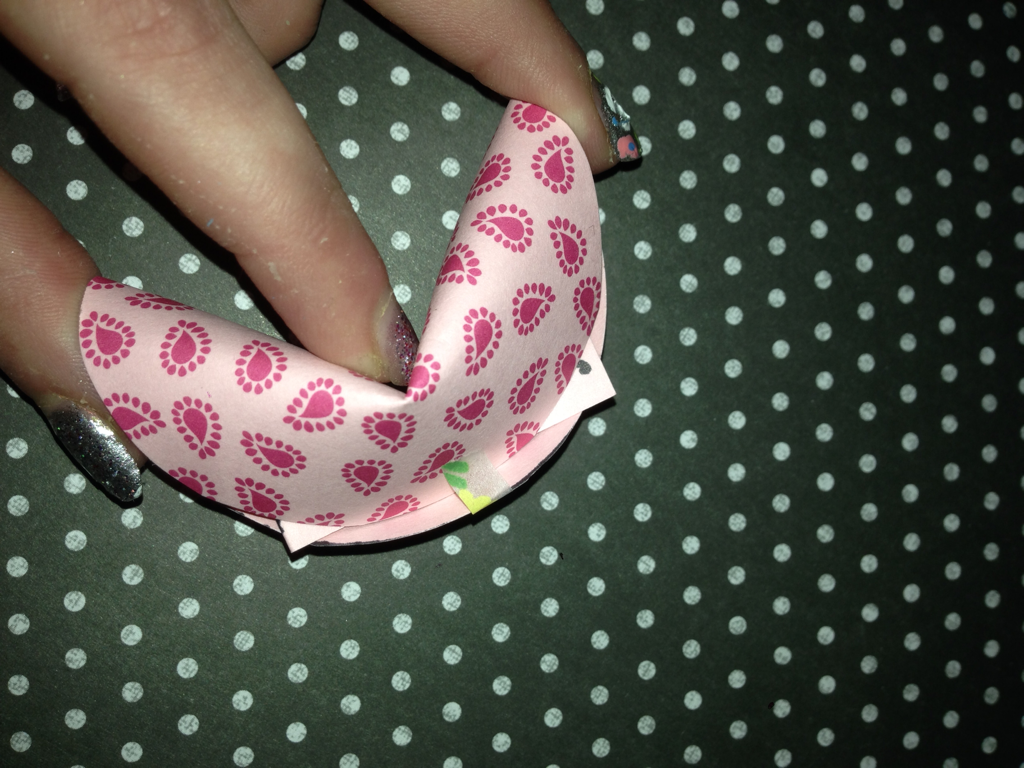 New Year Decor! This banner is super easy and cute! It's as simple as cutting out the numbers "2" "0" "1" "6" . I just glued mine onto decoritive paper squares. I hung it up with some twine, clothe pins, and white lights!
5 DIY HOLIDAY ORNAMENTS | Great Holiday Gift and Activity!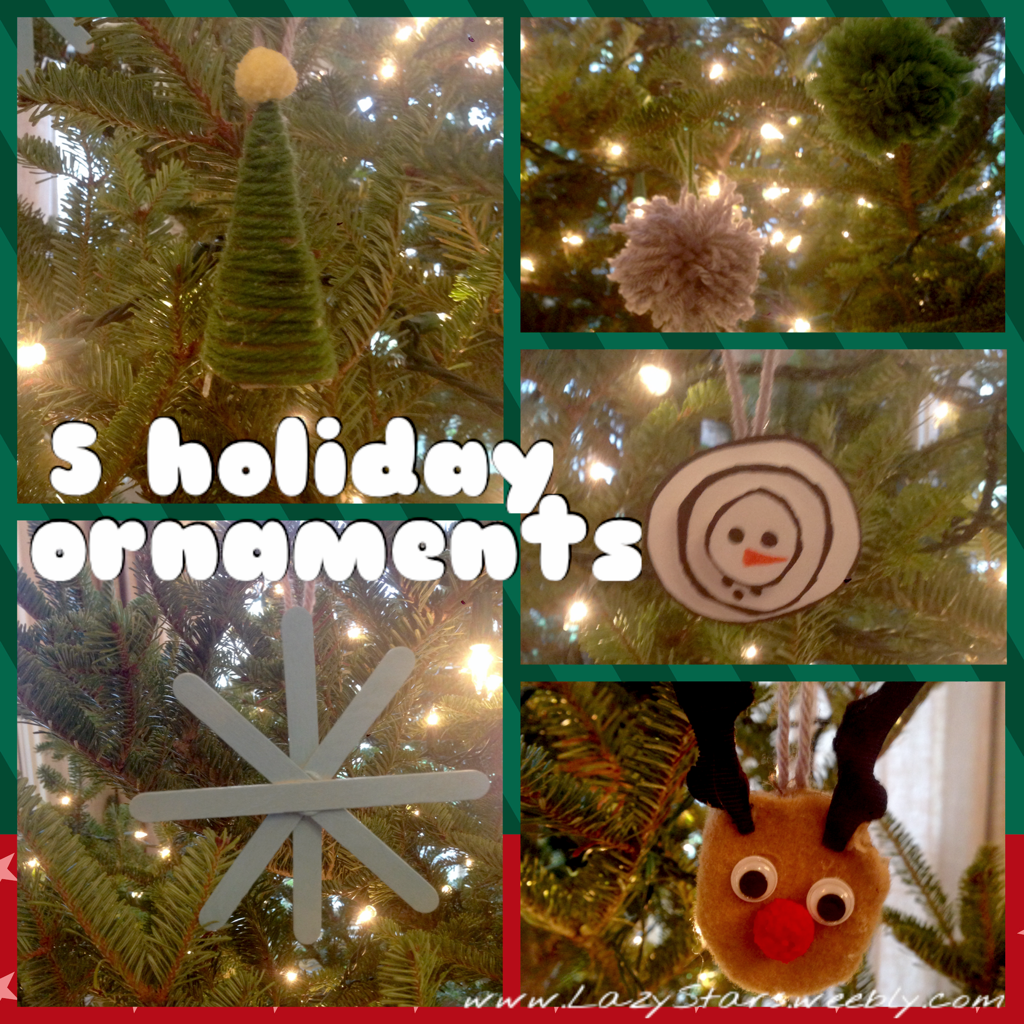 All these ornaments are completely cute and completely handmade! Here I'll teach you how to make all these super cute ornaments!
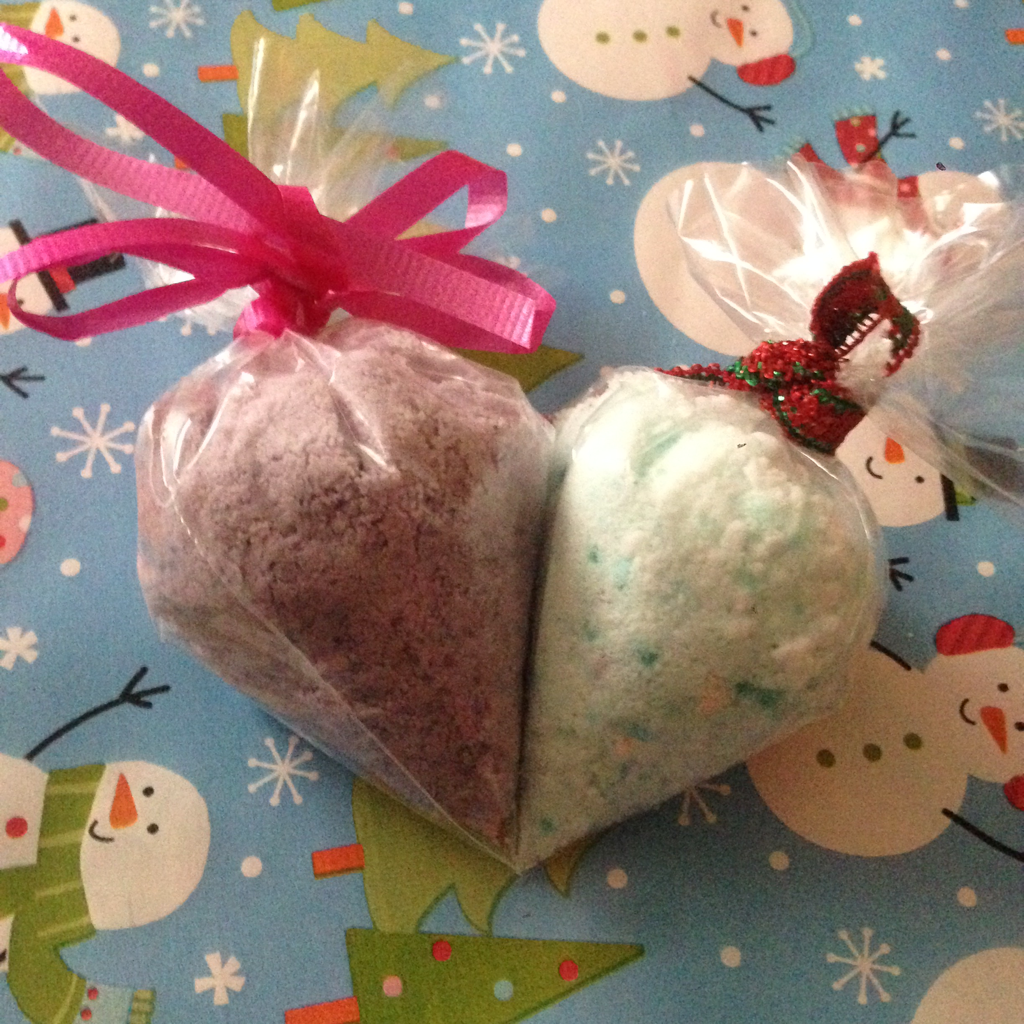 During a failed attempt at bath bombs I created the recipe for these fizzy bath salts! What you need.. 2:1 parts of baking soda to citric acid ratio. For every 2 cups of baking soda add. 1 cup of citric acid. Or if you aren't making enough for "cups" just add double the amount of baking soda as you add citric acid. • soap color and fragrant (optional) For every cup of citric acid add 1 tablespoon of epsom salts. You can add more if you want. The instructions are pretty self explanatory. Add all ingrediantsand mix. Add the color and frgrancr in small portions so the "fiz" doesn't deactivate. Add sprits of water until the mixture has the texture of wet sand. Let stand for 30 min. When dry smash with your spoon tI break any parts that may have hardened in big peices. These are super moisturizing and give the effect of Epsom salts and a bath bomb! * Be creative wuth your packaging! You can even give them to someone in one if your water marbled DIY ornaments! 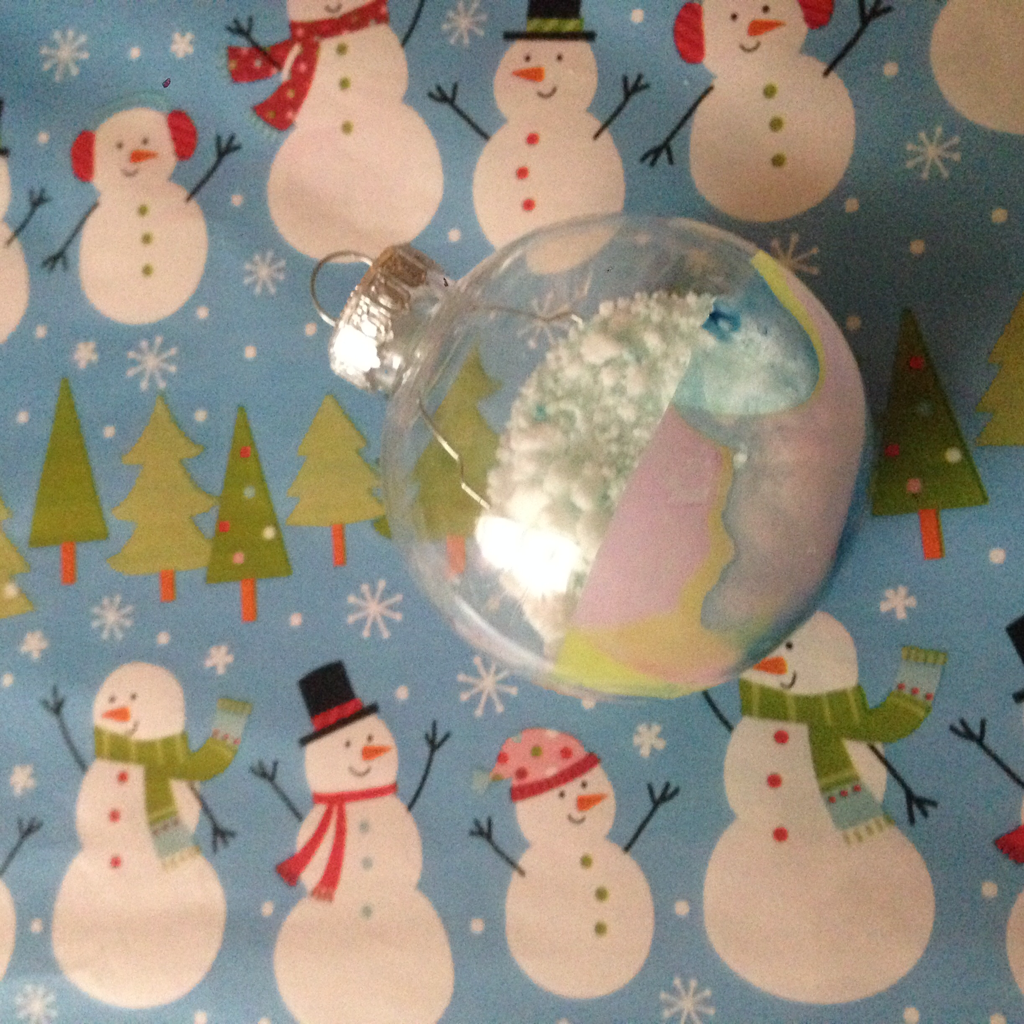 DIY Water Marbled Ornaments | nail polish| easy DIY Christmas Gift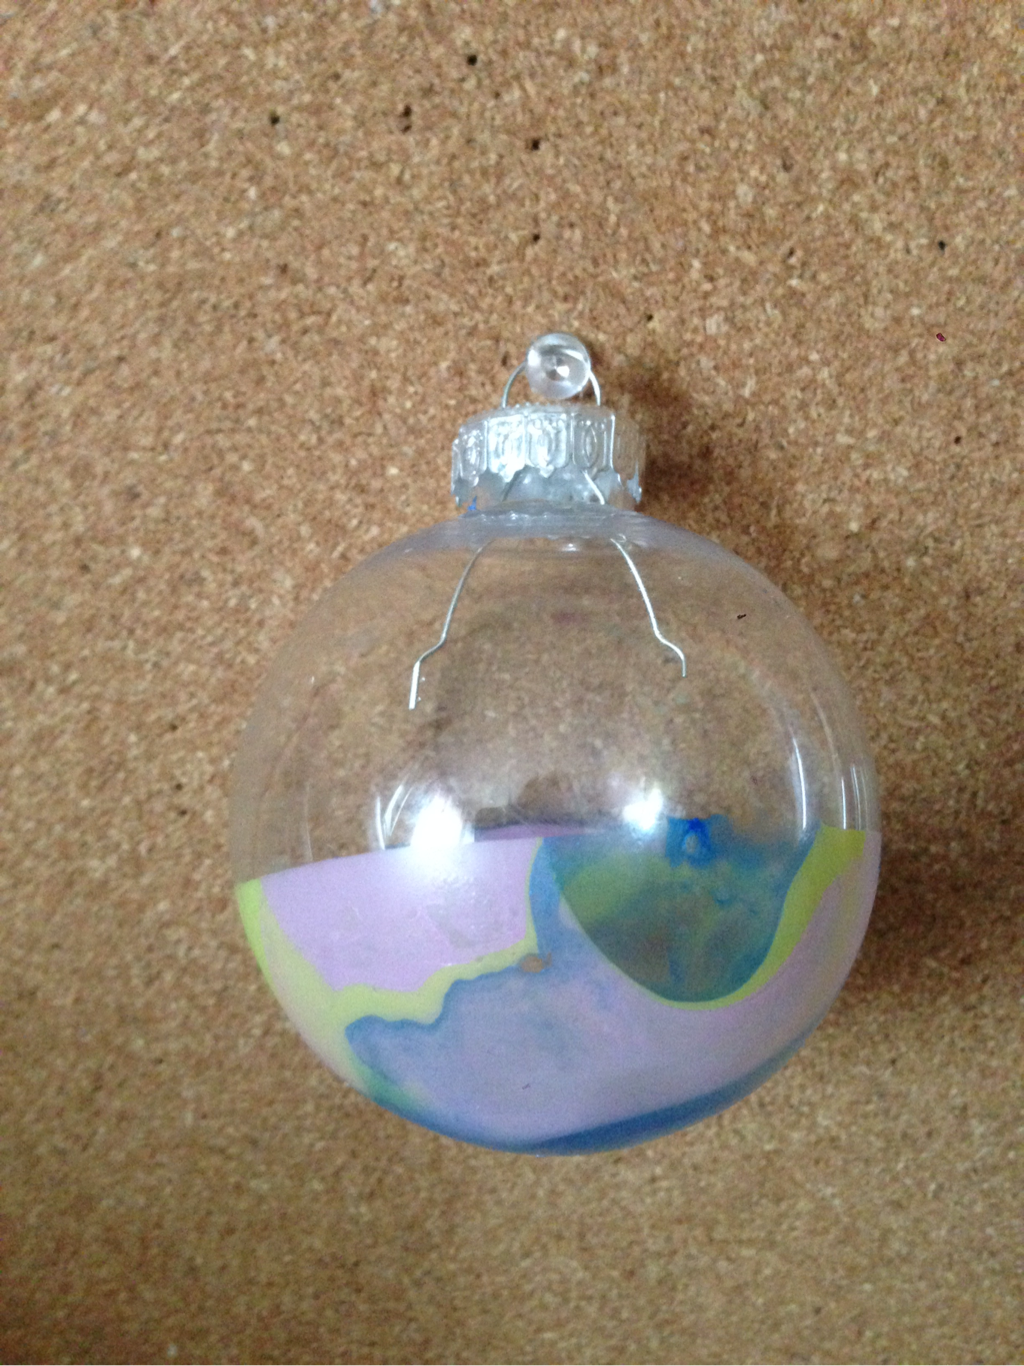 We all have those times during the hectic days of the Christmas season where we need to get someone a cute, easy and affordable gift. I saw a blank plastic ornament laying around and thought "how could I personalize this" The idea immediately came to mind! You will need.. • nail polish • a plastic or glass ornament A small bowl( bigger than the ornament) filled 1/3 way with water • a toothpick and cotton swab (optional) For this DIY you would use the same emerged as if you are water marbling your finger nails. There are many great TouTible videos that show how to do this technique. Basically you drop nail polish into your water and it spreads. You put multiple drops with in each other and use a toothpick to create designs. If the nail polish dries in the water causing it to rip, put a cotton swab in the water and it will collect all nail polish. Next dip your ornament in your favorite part and remove from water. If you dislike parts or your whole design you an use nail polish remover to take it off. 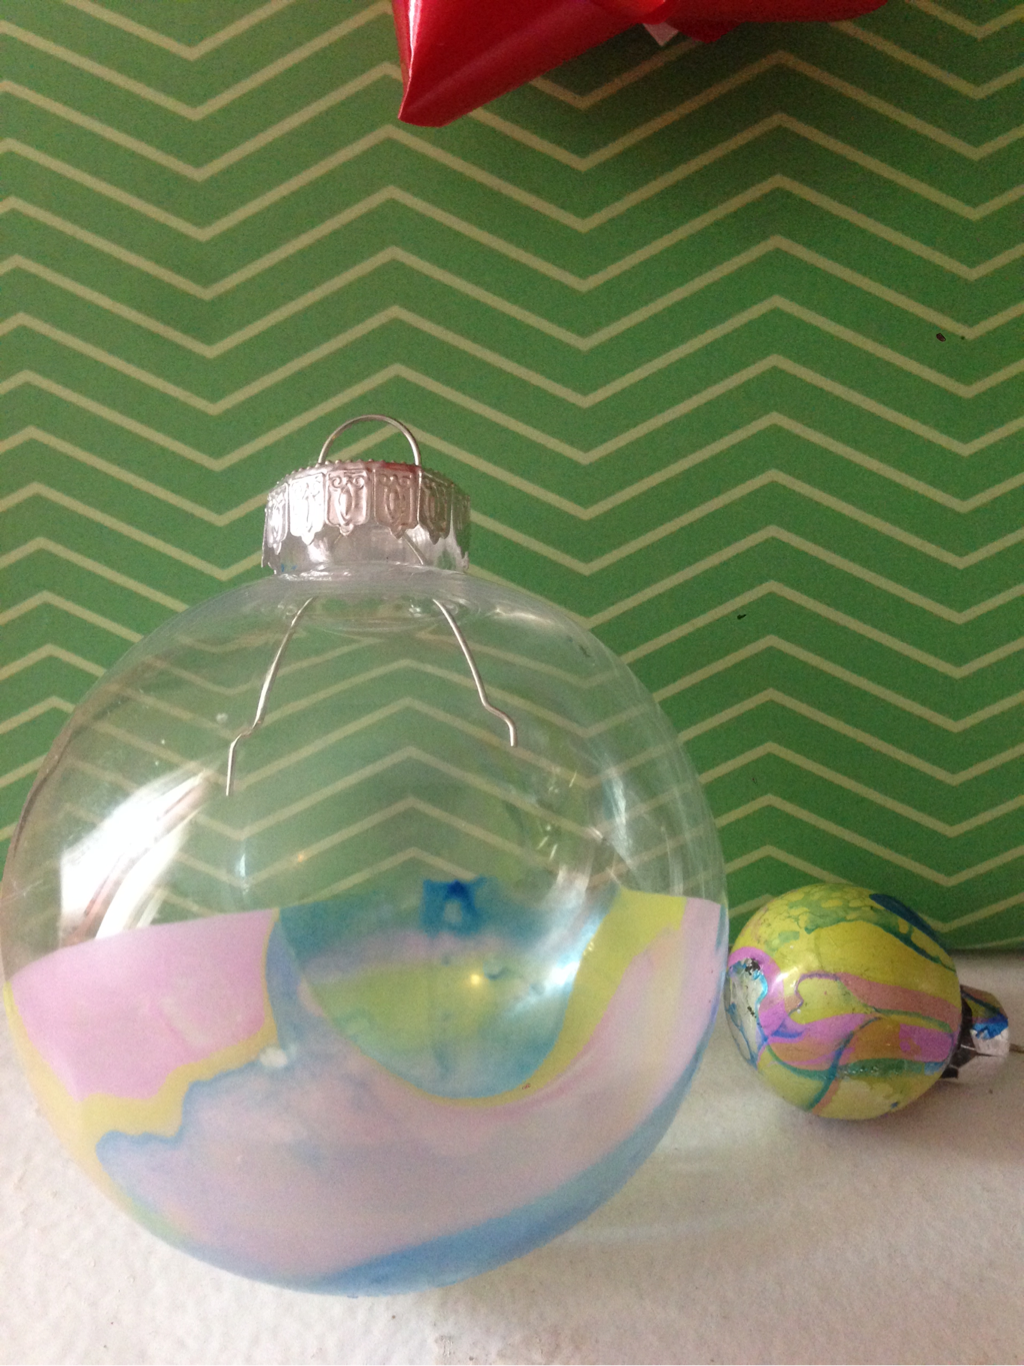 You can also do this technique with mini or already colored bulbs! |
AuthorWrite something about yourself. No need to be fancy, just an overview. Archives
February 2016
Categories |

 RSS Feed
